
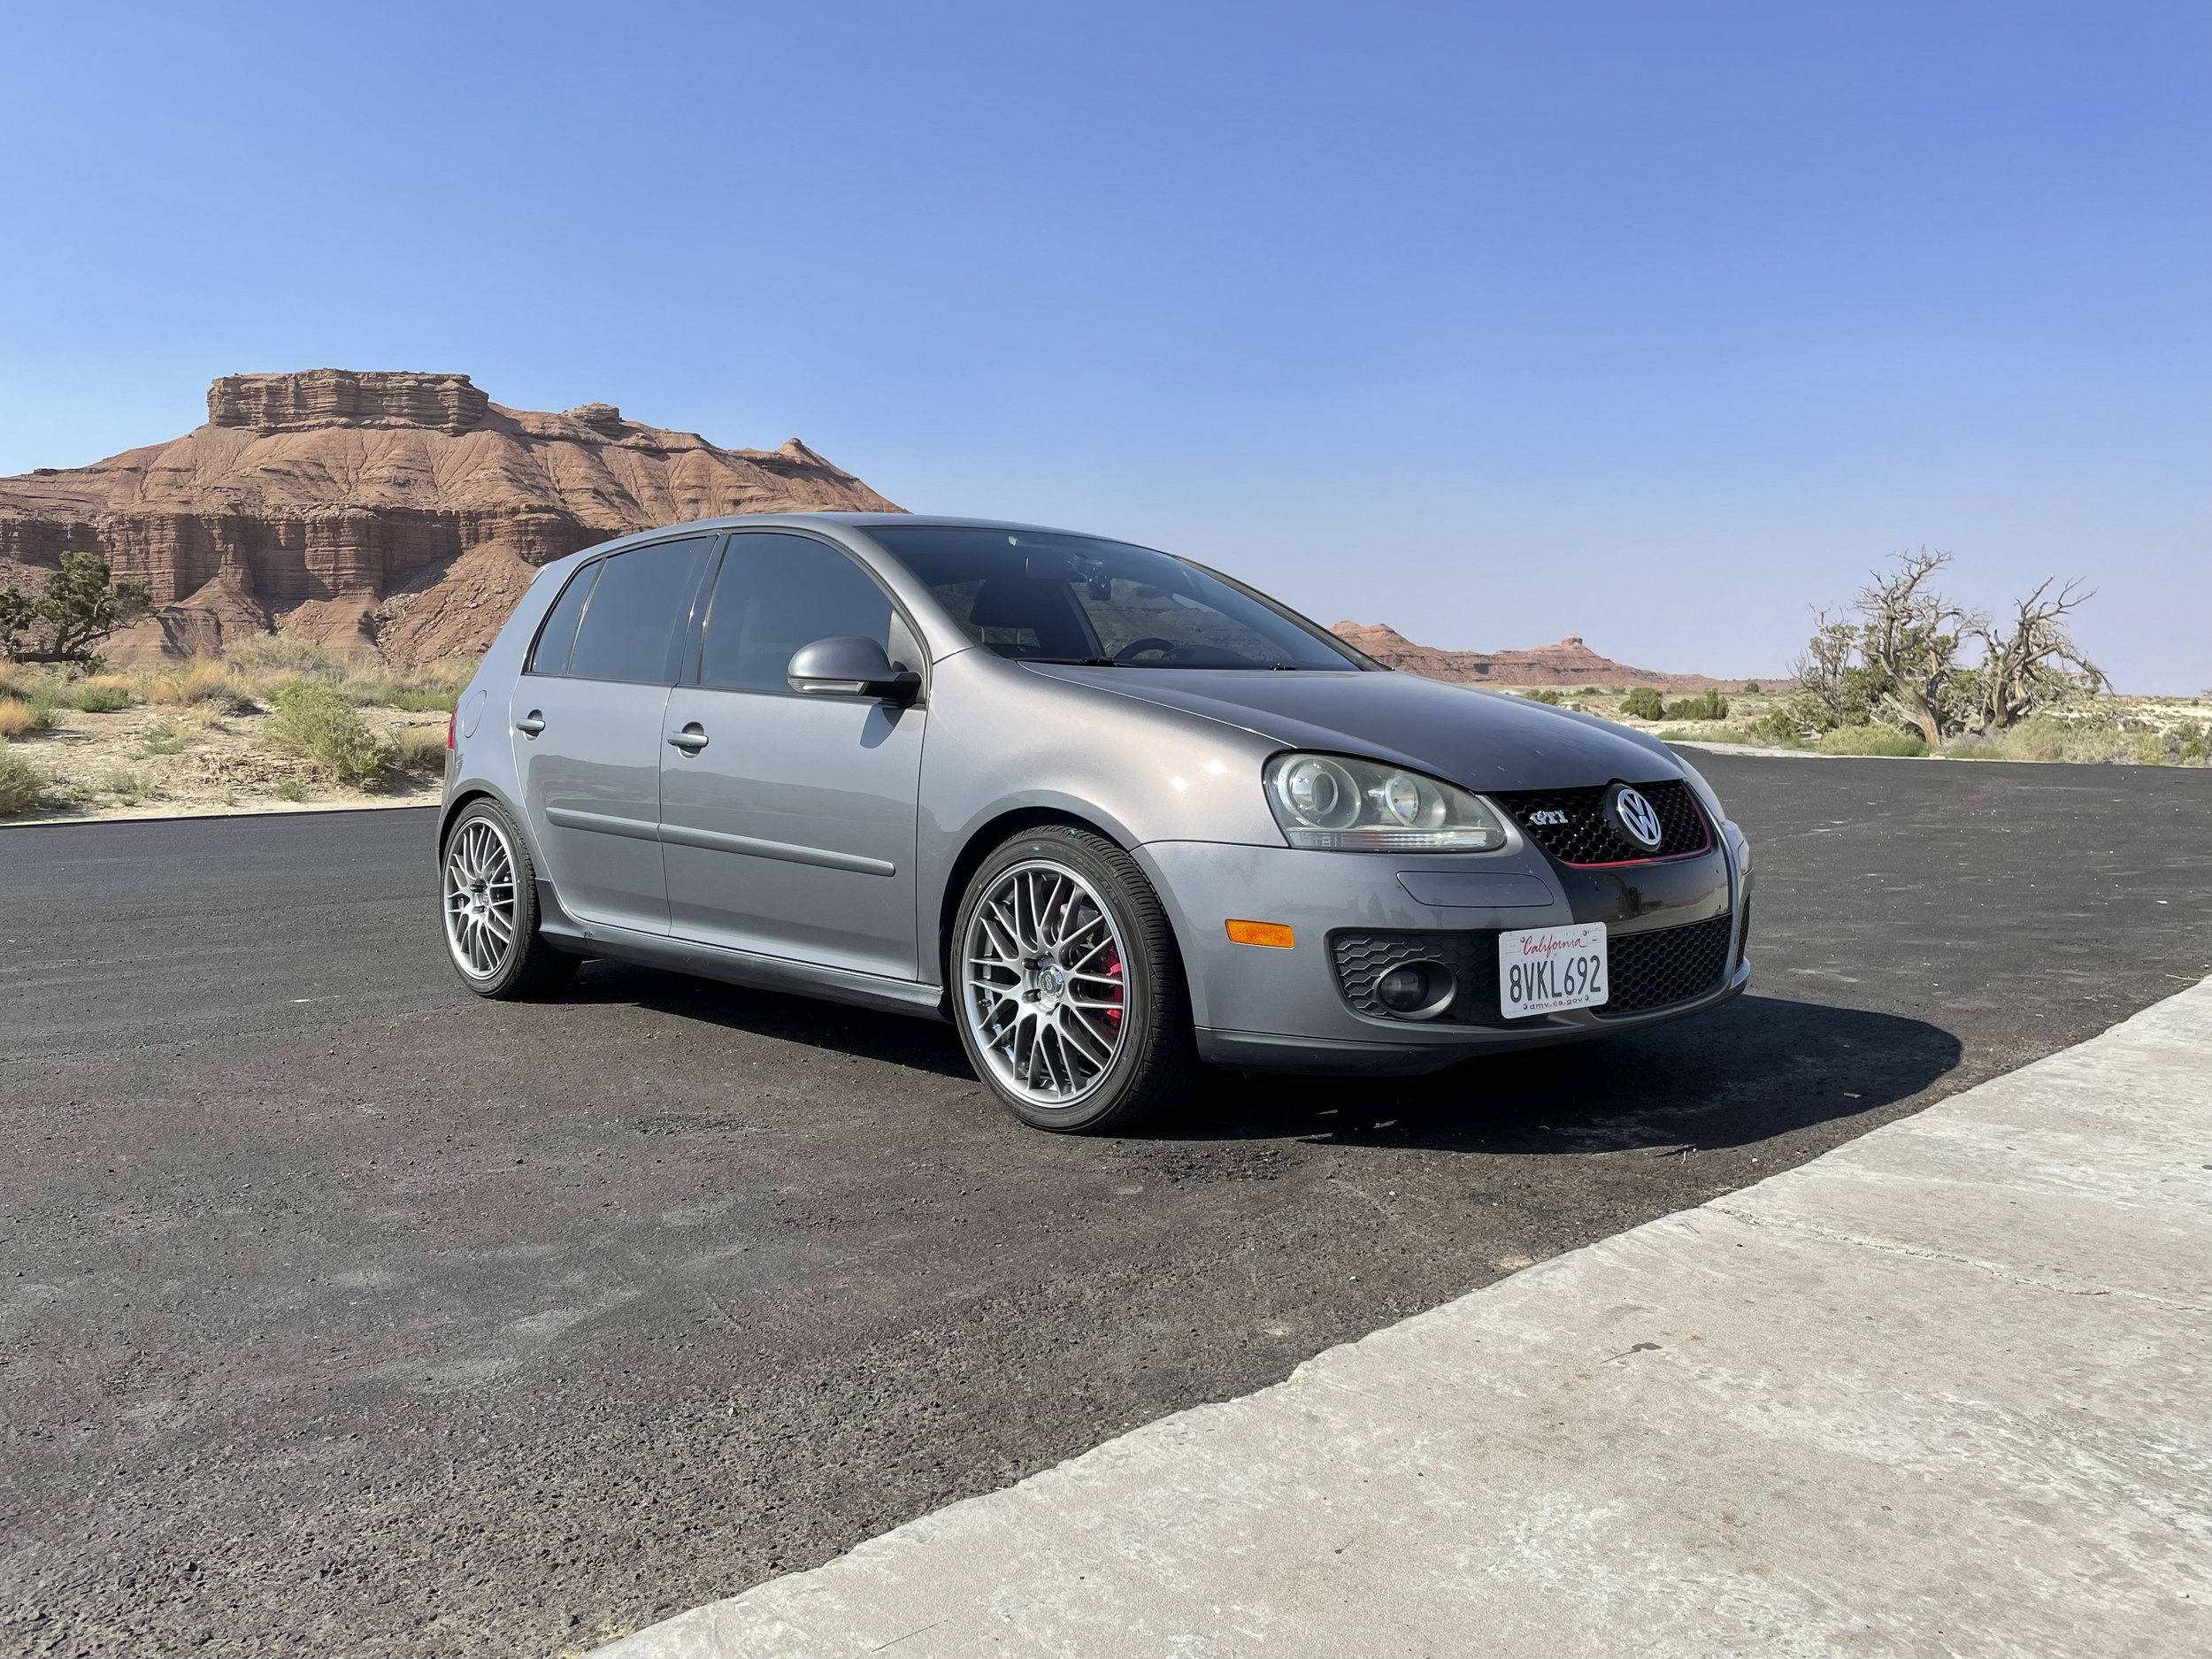
Volkswagen GTI MKV
Rally Edition
Cars, A long term hobby of mine. However, like all hobbies, they eventually take a turn into something a bit crazy. Growing up watching WRC, it has inspired me to turn the car that I bought in California for $2000 into a rally machine that can tackle most terrains at breakneck speeds. This car will also have to perform even in the worst and darkest of conditions that the roads can throw at it. So here is the story of one VW that can.
Somewhere in Utah on Interstate 15
North Kingstown, Rhode Island

Driving it from California to Rhode Island was against everyone’s advice as they all thought that this car would break down halfway through the journey. Although those concerns were not unfounded, we made it here. Now, you might be wondering why I would buy a car in California. As an east coast person, I have seen rust plague these older hot hatches. This car, was as clean as it could have been. With the 2.0 BPY Turbo engine from the factory, the race to increase performance begins.

Items that have been done:
Cold Air Intake: The original airbox was a bit of a design blunder as it was integrated into the engine cover for some reason. Changed for ease of maintenance and fun noises!
K04 Big Turbo: 58mm Turbo that allows for up to 30psi of boost with 93 Octane gas at 350 wheel horsepower. The boost can be turned up to around 38psi when running E85 ethanol gas for up to 400 wheel horsepower.
RS4 Fuel Injector: These 1000cc injectors allow for more power.
AutoTech Hitachi High Pressure Fuel Pump: 50% more pressure with this fuel pump, supporting mod to injectors.
Billstein B6 Upgrade: Better ride and handling, with added benefit of 0.5"in lift all around. Also done was upgraded adjustable sway bar setup with easy disconnect in the rear for uneven terrain.
Forge Twintercooler: Keeps original intercooler while adding additional volume for better charged air temperature. Charge temperatures have seen a 15 degree Fahrenheit decrease from stock.
AWE 2.5in SS Exhaust: Best all-around exhaust for performance and sound. Unlike the 3in systems that people typically run on these cars, the 2.5in system does not sacrifice performance or annoy the neighbors.
OZ Rally Racing Rim: Light turbo fan style rims that can withstand the abuse of uneven terrain.
EBC Yellow Stuff Pad with Slotted Rotors: the best track performance that is street legal at the cost of horrible noises…. I chose slotted rotors as they have the best cooling characteristics under track conditions.
Custom Hatch Stiffening: Custom made stiffening bars to prevent the body from twisting during harsh maneuvers.
Cobra Racing Seats: Practical fiberglass bucket seats that support 5-point harnesses.
Semi-gutted Interior: Rear seats removed to save weight.
Michelin Cross Climate 2 Tires: The best tire I have found so far that works for all conditions rain or snow,
Cool, We’ve done all that, what now?
Have you been noticing how hard it was to see at night?

And oncoming traffic is blinding…

These are when my headlights are off

And when the headlights are on…

Driving at night, not the best experience. I need to do something about it.
I cant solve the oncoming traffic problem but I sure can make roads more visible for myself.
Rally cars of new and old have inspired me to create something similar for my own car to solve some of my night visibility problems.
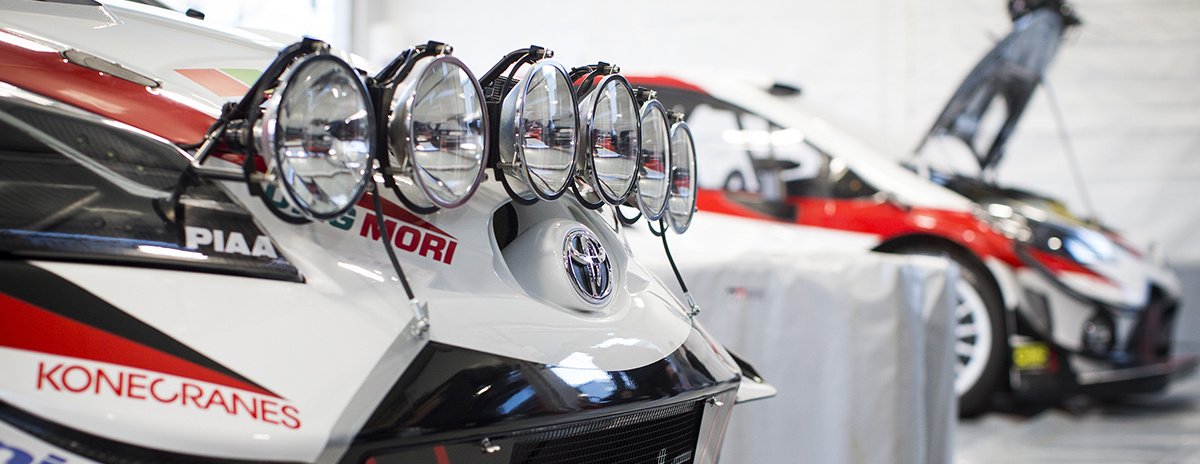
Toyota Gazoo Racing GR Yaris WRC

It started sketching to see how square auxiliary lamps would look like on a car. Then it started to turn into a study on what the beam patterns would look like. These studies allowed me to better understand my use case and provide an adequate solution. Some mounting considerations were also made at this stage. Rolled angle iron was chosen for the structure it provides and the Semi-Universal mounting target. Halogen lights were chosen for the softer color they provide at the expense of weight and total lumens.


So the building begins…


I ended up hard mounting and wiring through the hood for the best stability. I also sent a signal wire through the firewall into the cabin that is behind my fuse box so each set of lights can be controlled separately.
Current State 04/15/2024

Testing the Water Resistance

Night Front View

Low Beams Only

Strut Bars Added for Support

Interior View with Everything On

Aux Lights On
CAR MEET PHOTOS


The general opinion that I have gathered from these informal meet ups is that people seem to prefer the exposed hardware on the lighting setup. They also find it endearing and appreciative that I have elected to go with old school halogens instead of the blinding modern LED solutions. So, in honoring the crowd’s opinion, I will be creating a wind dam instead of a full enclosure to show off the workmanship.
This project is not finished. I am currently developing a wind dam that will help protect some wiring components from water damage. Currently, there are also plans to incorporate Computer Fluid Dynamics (CFD) testing along with building a homemade “wind tunnel” to demonstrate some different options. Below are some progress shots of what I am doing.


Carbon Fiber!
I want to give Alex Wu, founder of Snail Works, a big round of applause for sticking around and giving me the much-needed advice on how to make everything actually tie together and work. Say hi to Alex in this photo! He is on my left.
